Painting Fabric & Stencils!
So 5 weeks since my last post…that’s better than 3 months so I’m doing pretty good ; )
A looooooong while back I promised you all a post on how to paint fabric. Well, I am a woman of my word so here goes!! Better late than never, right??
If you want to check out my first fabric project, take a peek HERE.
Today, I’m working on a little chair that’s been sitting in my furniture shed for quite some time. Have I ever told you about my shed? Yes, my wonderful hubs not only allows me to crowd his garage with all my furniture finds, but my father-in-law decided to have a shed built for me so I could crowd that too. Here’s a peek…and no, I don’t get both…I have vowed to never put a piece of furniture in hubby’s garden shed. So far so good ; )

So a couple weekends ago I had my own personal garage sale via my shed. That is, we pulled out a few pieces and I completely forgot about all the treasures I had stashed in there!!!
This little chair was one of those finds. Cute, but the fabric was pretty mucked up so I thought it would be a great candidate to show you what to do with something like this!

I’ve been feeling a bit like I’m choosing colors & techniques based on what I think will sell. I’ve talked about this before…but I had fun with this one. And whenever I have fun, it seems things get more attention. I wonder if that’s the law of attraction at work ; ) Not to mention, being so busy with the Brooklyn shop, I’ve hardly had time to have fun & be creative.
I popped the seat off, which is not totally necessary, but if you can, that’s great. I gave the chair a couple coats of Chalk Paint® in English Yellow. In case you haven’t heard, painting with Chalk Paint® is soooo easy. No priming, no sanding necessary, just paint right over just about any surface!
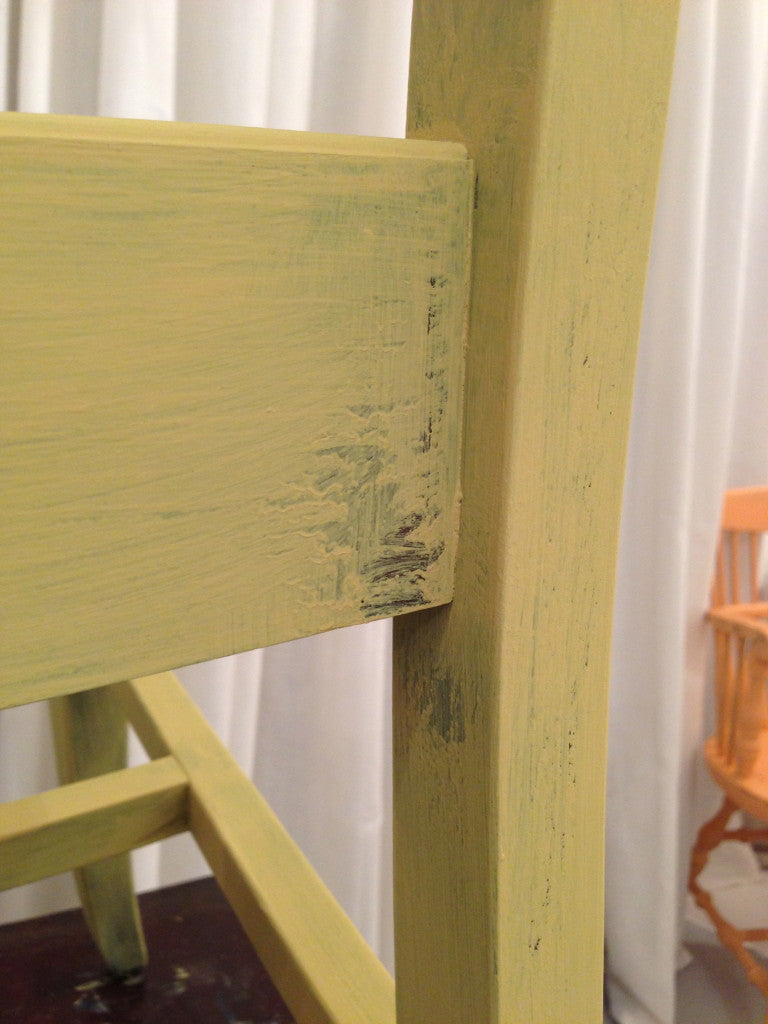
Here’s a little note though…if you’re impatient, like me, and you go over your first coat of paint before it’s had time to dry, you can sometimes pull the paint off. It will start to do this pulling thing and want to lump up and come off. Don’t worry though…just let it dry, leave it and go back over it with another coat. You’ll never be able to tell once you’re done. Another fabulous thing about Chalk Paint®…you literally cannot make a mistake!! Here’s a pic of what I’m talking about:

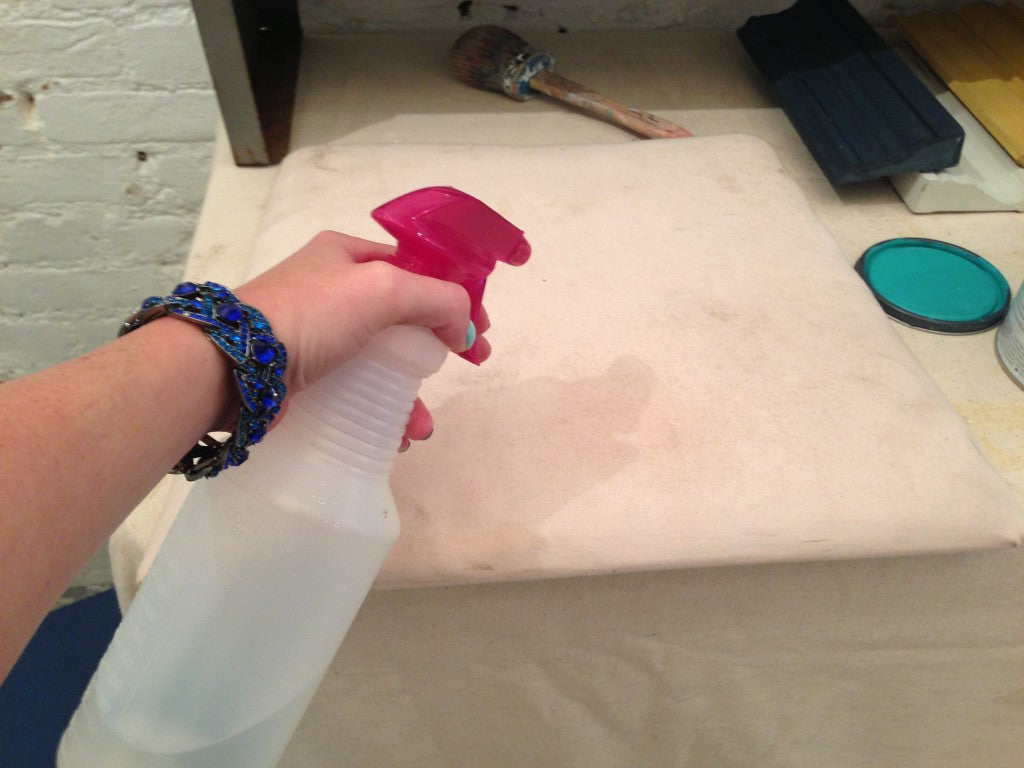
So for the painting on fabric part…yup, it’s just as simple as painting everything else with Chalk Paint®. For this project, I chose to spray my fabric down and apply the paint. You can also choose to water down the paint and apply to dry fabric. Again, I’m lazy (and busy), so if it’s less steps then it’s for me ; )


Here’s what the fabric looked like after 1 coat. I did 2 coats on this bad boy.

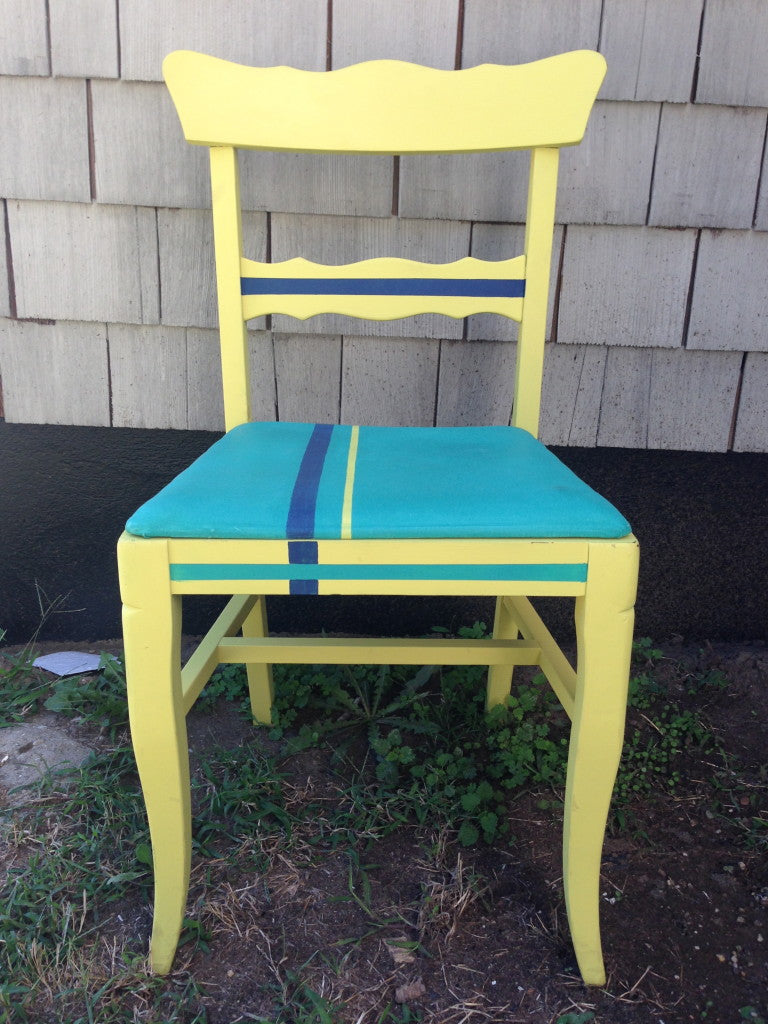
Fabric probably takes the longest to dry because of how wet the fabric is or how watered down the paint is. More water means a little longer dry time. I guess this probably took an hour or 2 to dry (still not that long!). After the paint was dry, I added some fun stripes to the seat by taping it off with (my favorite!) Frog Tape. I highly recommend Frog Tape…it is a wonderful thing!! I did have to go back and touch up some of the stripes to make them straighter. This was no fault of Frog Tape! More so the tape didn’t cling perfectly to the curve of the fabric…and let’s not forget, I’m impatient, so I probably didn’t press down too hard either ; )

Again, I spritzed the area that I would be painting on to wet it slightly.
And I felt like I needed a little more fun in my life…so I added another stripe in English Yellow…yum!

So after you have your fabric painted and it’s dry, the next step I like to do is give it a light sanding to soften it a bit. I used a 500-grit sandpaper on this. When you sand the fabric, it will look slightly ruined, like it’s been scuffed up…but not to fear!! Remember, you can’t make a mistake with Chalk Paint®!! As soon as you wax it, it will go back to it’s normal coloring.

And after you sand it, the last step is to wax. And yes, you can wax fabric too!! What do we use to apply wax at Suite Pieces? We love the Waxwell brush from Coda Artisans…spreads it like a dream!! Now students, what’s the most important thing to remember about wax??? Less is more!! A little wax goes a very long way, don’t over do it ladies!! And don’t waste it either ; )

Wipe off the excess just like you would on furniture and Voila!!! You’re done!!
Now, as far as care goes for your fabric, remember, the wax does take some time to cure, so I wouldn’t wax your easy chair and spend the first evening in front of the TV on it. Give it some time to cure and let the solvents evaporate. Once that happens, all your left with is the protection of the wax coat. You can wipe the fabric down with a damp cloth with a mild detergent, or baby wipes will work too. If you find you’re getting a bit of wear…well, you have 2 options. You can either re-paint, to match your mood ; ) or you can re-wax it to give it another coat of protection. One last note…I probably would only venture to use clear wax. Since the dark wax has staining qualities I don’t know if I would risk it…unless of course the fabric isn’t something that is going to get any use (for example a piece of wall art or a chair that never gets used).

Here are a few of our favorite projects from other designers and bloggers…To see their original posts and step-by-steps of these projects, just click on the links below.
This technique works on all types of fabrics – even leather! And with the simple addition of a stencil, you can really create a custom look. We love the grain sack upholstery look we’ve been seeing in our favorite catalogs, but don’t love how expensive they can be… Two of our favorites recreate this look beautifully and for a fraction of the cost!
Bella Tucker Decorative Finishes in Franklin, TN painted her fabric in Paris Grey, and the stripe in Aubusson. She purchased the German grain sack stencil from Maison de Stencils.

Claire at Rustic Pig Designs created a similar look but on leather! We love how she dry brushed Emperor’s Silk over the Old White base to give it an authentic look.

Lina over at Fancy Frugal Life took her boring beige outdoor pillows to a whole new level with Antibes and some fun stenciled designs in Pure White (see that grain sack design again?!). She purchased her stencils from Royal Design Studios and JoAnn’s.

So we’re getting ready to bring on some stencils here at Suite Pieces. We’re curious…what’s your favorite stencil? Let us know in the comments and we just might carry it in the shop!! AND…we’ll be doing a giveaway for a free stencil chosen from those who comment ; )
And a big thank you goes out to Mary for helping find some of these fabulous projects. Oh, who’s Mary you ask?? Well that’s one of our the newest gals on board here at Suite Pieces! For my next blog post I’ll be introducing the whole team and how we’ve all come together. Such an amazing group of people I have here supporting me…I feel so very blessed ; ) Thanks for reading!! Stop by soon!! And I promise I’ll get that post up sooner than 5 weeks!!
xoxo – Amanda

